How To: Setup Wazuh in Proxmox

- Stephen deLisser
Overview
Are you ready to harness your inner cybersecurity superhero and protect your digital castle with style? Meet Wazuh, a SIEM tool that’s like having a 24/7 bodyguard for your home lab—only it won’t eat all your snacks or demand paid vacation.
Wazuh is totally free, open-source, and feature-packed, making it a great way to sharpen your SIEM skills without spending your life savings on a big-name subscription to guard your Raspberry Pi and, well... your Instagram-worthy breakfast photos.
In this guide, you’ll learn how to deploy Wazuh on Proxmox using their magical .ova file. Just sit back, follow the instructions, and let Wazuh do all the heavy lifting.
Obtaining the Wazuh Image
There are numerous ways to summon the Wazuh Manager, Indexer, and Dashboard. If you have a personal favorite for setting things up, you can always head to the official documentation for more details.
But let’s focus on the path that often confuses newcomers: using the pre-built VM image (.ova file) on Proxmox. If .ova files seem like a cryptic puzzle, it's not—and Proxmox’s popularity makes this method incredibly handy for more than Wazuh prebuilt VMs. 😉
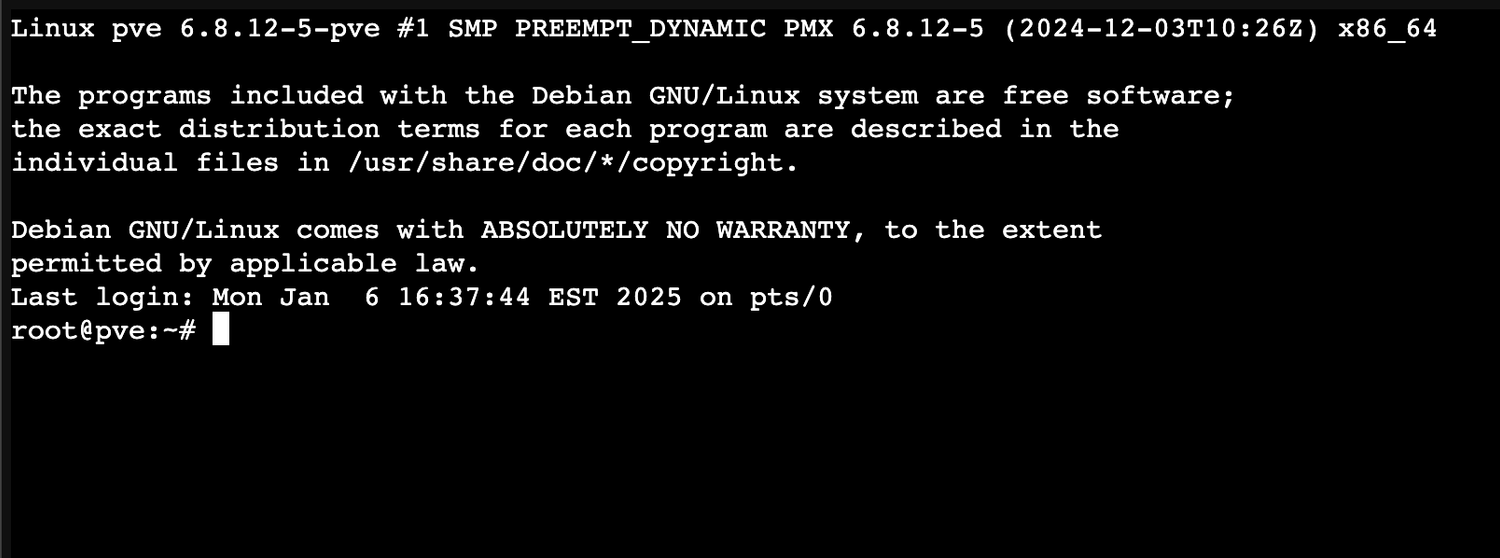
- Access Proxmox Shell
First things first, log in to your Proxmox web interface and open the Shell. If you’re fancy and have multiple nodes, pick the chosen one that will host your new Wazuh overlord.
2. Get the .ova Download Link
In a fresh browser tab, head to Wazuh’s site and grab that magical .ova download link here.

3. Run the curl command, biceps optional.
curl "https://packages.wazuh.com/4.x/vm/wazuh-4.10.0.ova" --output wazuh-4.10.0.ova- By the time you are reading this, there might be a newer version. Wazuh’s pretty good about updating, so grab the most recent
.ova - Change the
--outputto whichever filename makes your heart sing.
4. Checksum Validation (Optional—but strongly recommended if you don’t trust the internet…which you shouldn’t)
curl "https://packages.wazuh.com/4.x/checksums/wazuh/4.10.0/wazuh-4.10.0.ova.sha512" --output wazuh-4.10.0.ova.sha512 && sha512sum -c wazuh-4.10.0.ova.sha512This downloads the SHA512 checksum file and verifies your .ova. It’s like hiring Sherlock Holmes to confirm that you didn’t just download some malicious Trojan disguised as Wazuh.
Setting up the VM
Congrats! You now have the Wazuh .ova image, which is basically your ticket to a more secure homelab. Next up: we create the actual Proxmox VM. Because there are at least two ways to make coffee, there are also two ways to set up your VM. So let’s break it down.
Method 1: The WebGUI method (A.K.A The Scenic Route)
If you enjoy clicking things in a browser while sipping a latte, this one’s for you.
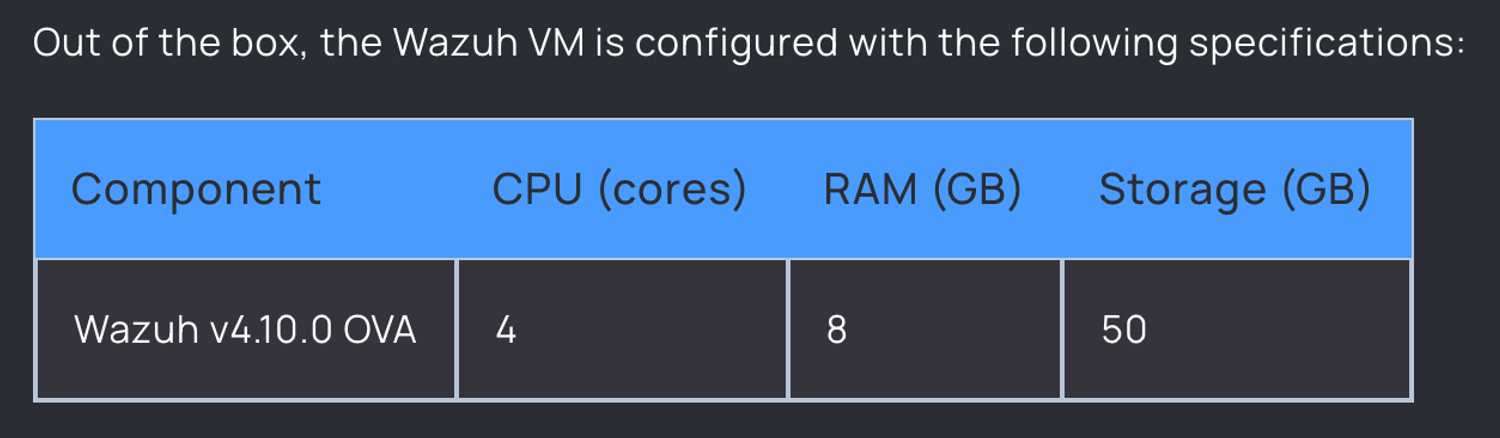
- Refer to the Wazuh VM Specs
On the same page you grabbed the .ova, there’s a table of recommended configuration specs. Pretend it’s a recipe card and follow it for best results.
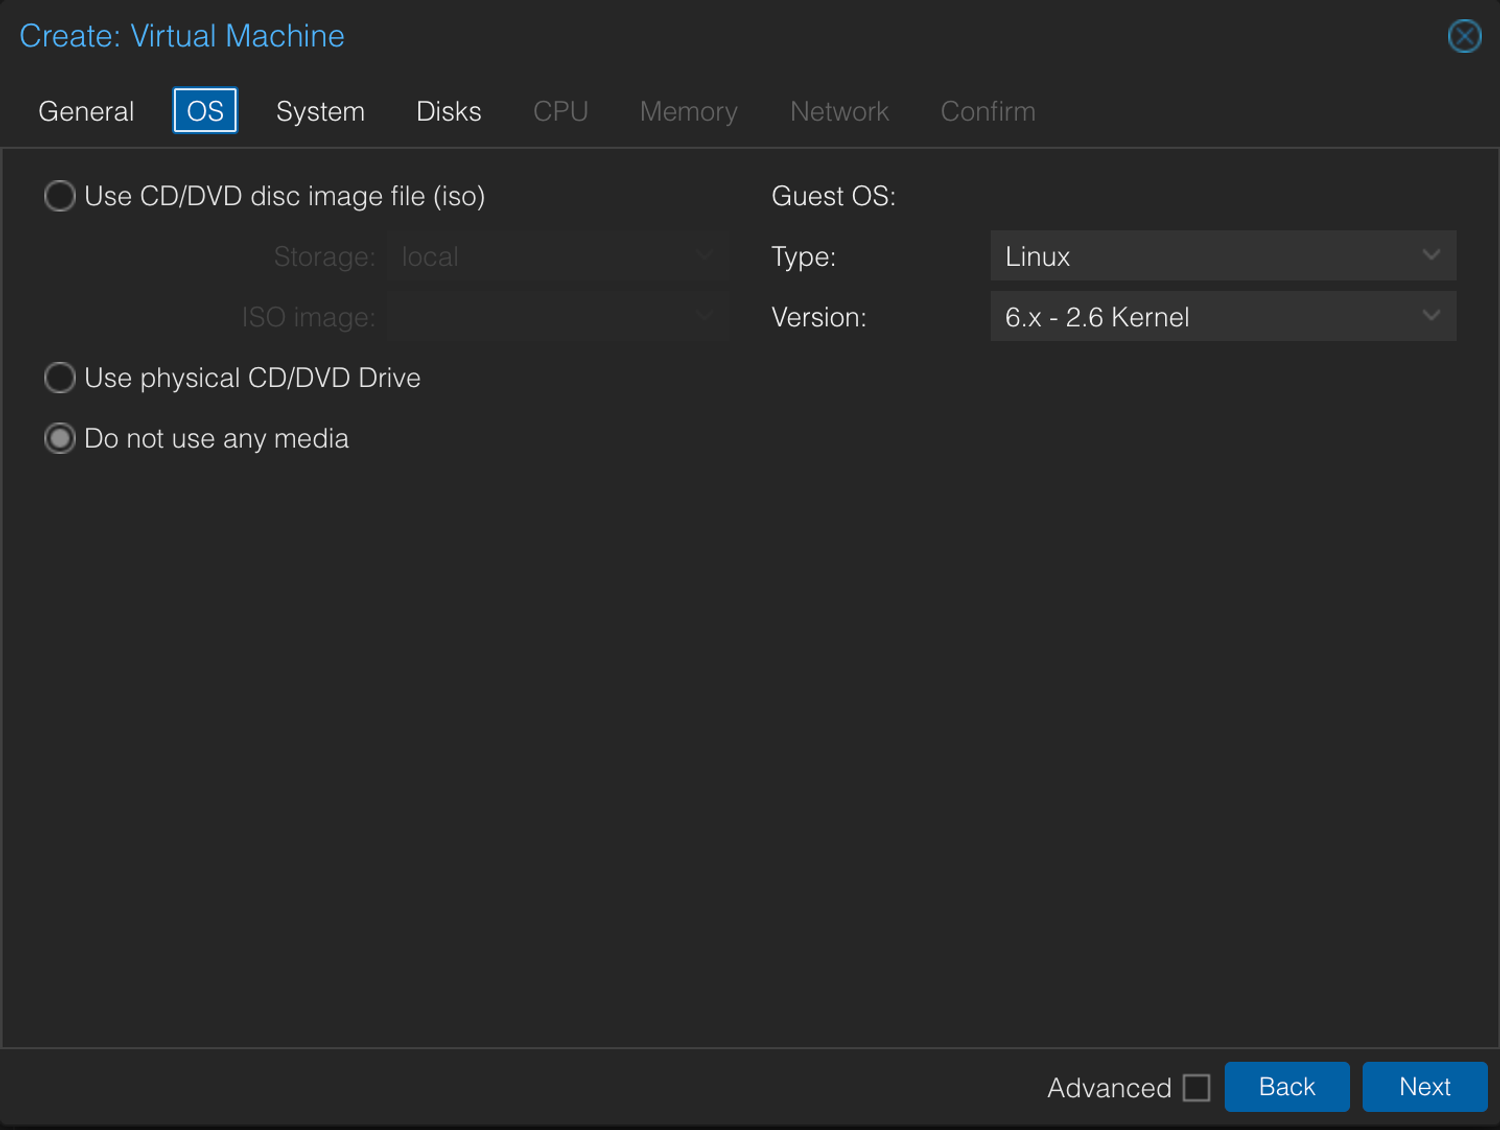
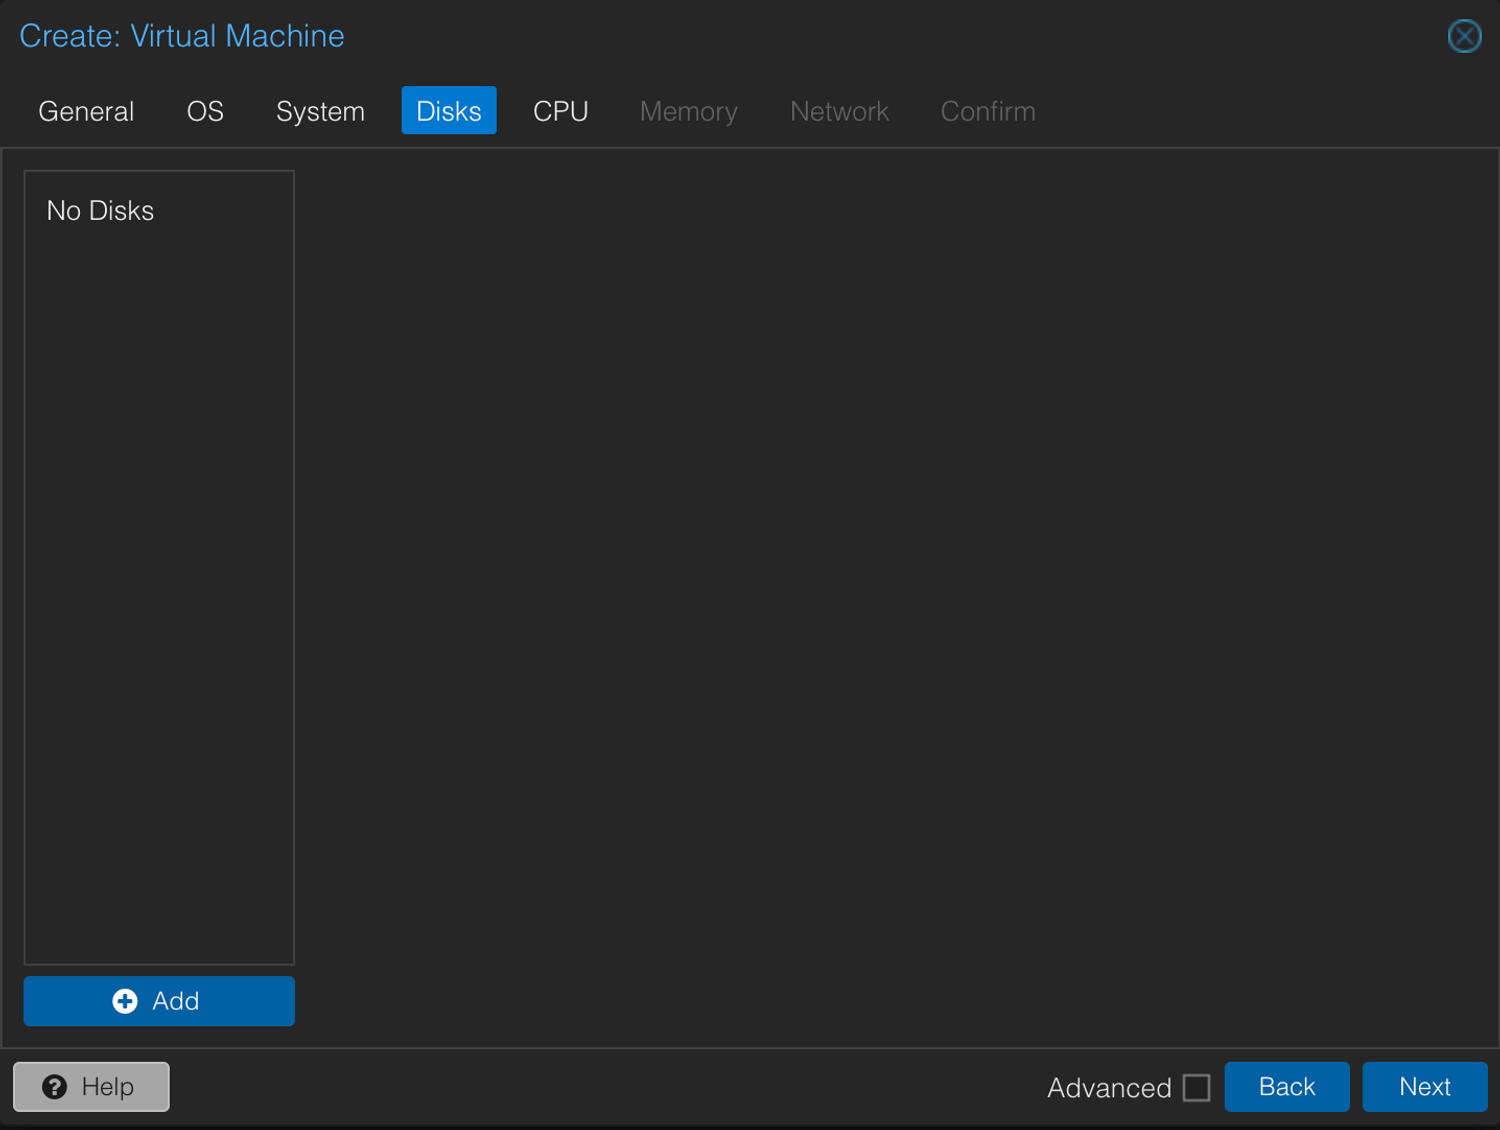
2. Create a New VM
In Proxmox, right-click Create VM and basically fill in the fields like you’re booking a flight—except you won’t be seated in economy.

3. Unzip the .ova via Shell
Head back to your Proxmox shell and channel your inner digital archaeologist:
tar -xvf wazuh-4.10.0.ovaIf you used a different filename, adjust accordingly. This command extracts a .vmdk (virtual hard disk), along with some supporting cast (.mf and .ovf).
4. Import the Disk
Now we feed that .vmdk into your new Proxmox VM:
qm importdisk 199 wazuh-4.10.0-disk-1.vmdk lvm- 199 is VM ID,
- The filename should match whatever
.vmdkpopped out of your.ova - lvm stands for the storage target on your Proxmox setup (could be local-lvm, zfs, or whatever)
5. Grab the Default Credentials
While Proxmox does its wizardry, check the same Wazuh page for default logins and password combos. You’ll want them once your new VM is up.
Method 2: The Shell Method (Unleash Your Inner Mr. Robot)
I wanted to show this method for 2 reasons. First, because terminal is faster, so flex those finger muscles; And second, Because this information can be applied to any prebuilt VM that provides an .ova file for quick setup.
- Extract the
.ovafile
tar -xvf wazuh-4.10.0.ovaYou’ll see three files: .mf, .ovf, and .vmdk.
- The
.mfis a manifest file used by Hypervisors like vSphere and Virtual Box to read the contents of a.ovffile for setting up a VM to spec - The
.ovfstands for Open Virtualization Format which is a file that includes all the metadata in a XML format, specifying the VM specs - The
.vmdkis the VM disk hard disk file which is pretty self explanatory
2. Check the .ovf for Specs
By peeking into the .ovf, you can see how many vCPU cores and how much RAM the Wazuh team thinks you deserve.
cat wazuh-4.10.0.ovfThis will output the contents of this XML file and if you scroll through it you will find a section for the <VirtualHardwareSection>. In this section you will find a line that describes the amount of vCPU cores and Memory required for the VM. For this example it would be these <Item> lines below:
<Item>
<rasd:AllocationUnits>hertz * 10^6</rasd:AllocationUnits>
<rasd:Description>Number of Virtual CPUs</rasd:Description>
<rasd:ElementName>4 virtual CPU(s)</rasd:ElementName>
<rasd:InstanceID>1</rasd:InstanceID>
<rasd:ResourceType>3</rasd:ResourceType>
<rasd:VirtualQuantity>4</rasd:VirtualQuantity>
</Item>
<Item>
<rasd:AllocationUnits>byte * 2^20</rasd:AllocationUnits>
<rasd:Description>Memory Size</rasd:Description>
<rasd:ElementName>8192MB of memory</rasd:ElementName>
<rasd:InstanceID>2</rasd:InstanceID>
<rasd:ResourceType>4</rasd:ResourceType>
<rasd:VirtualQuantity>8192</rasd:VirtualQuantity>
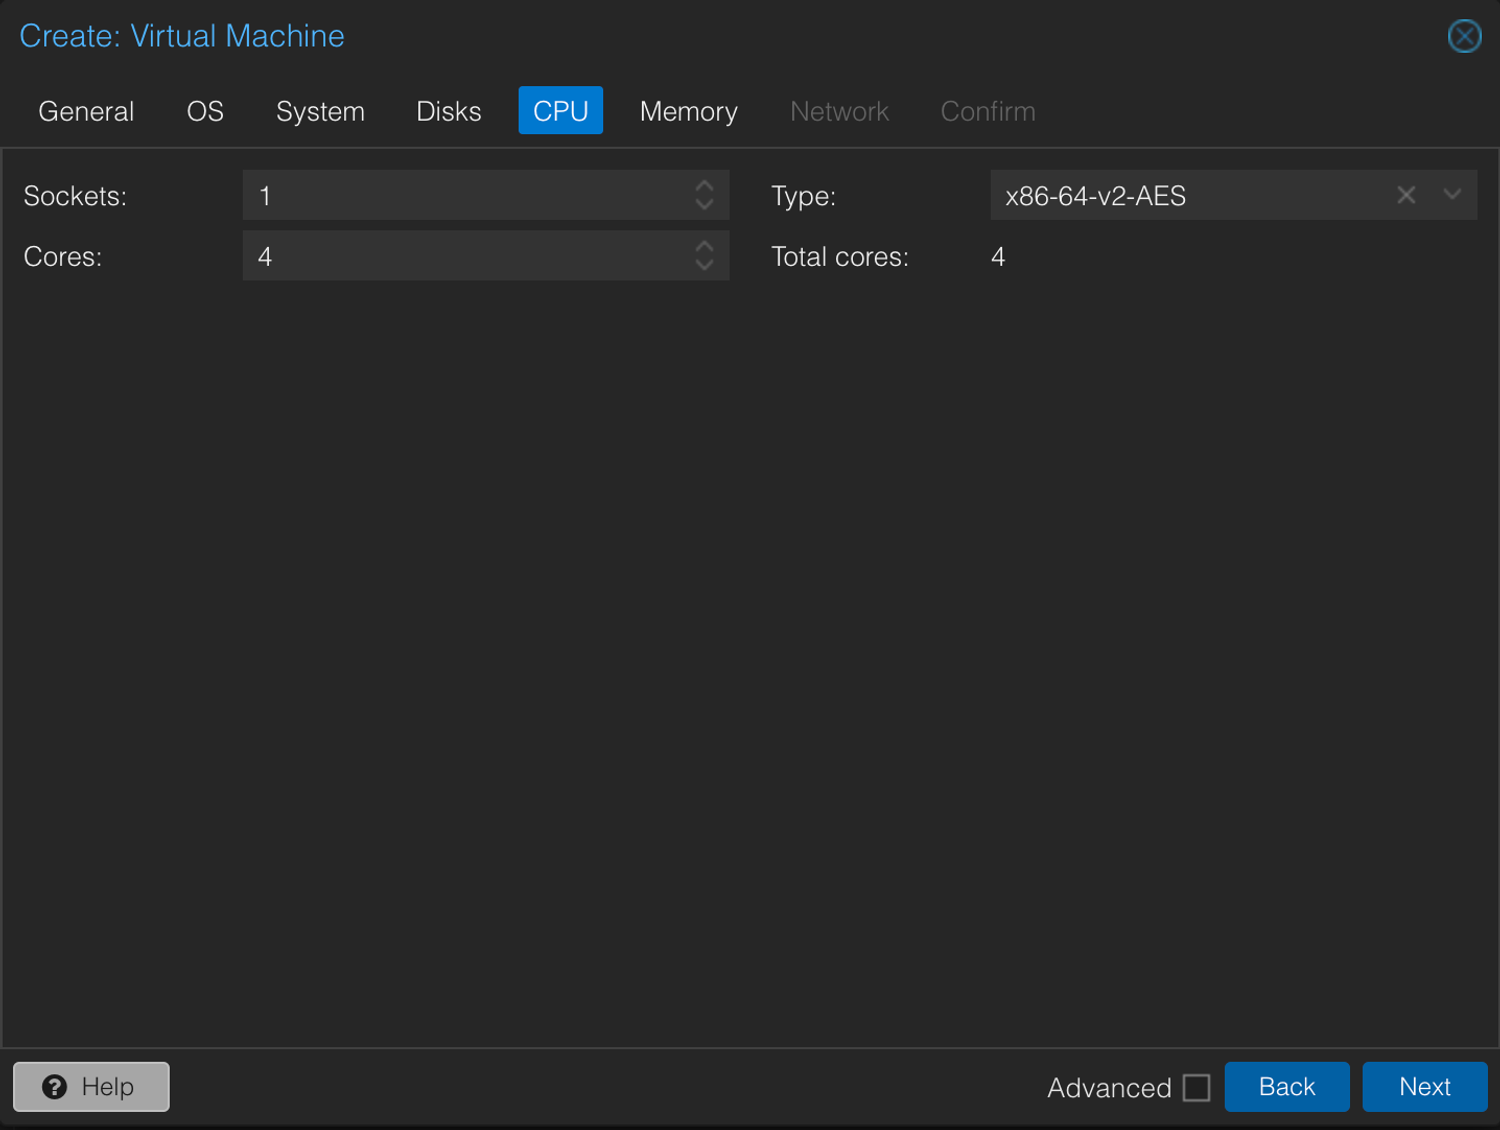
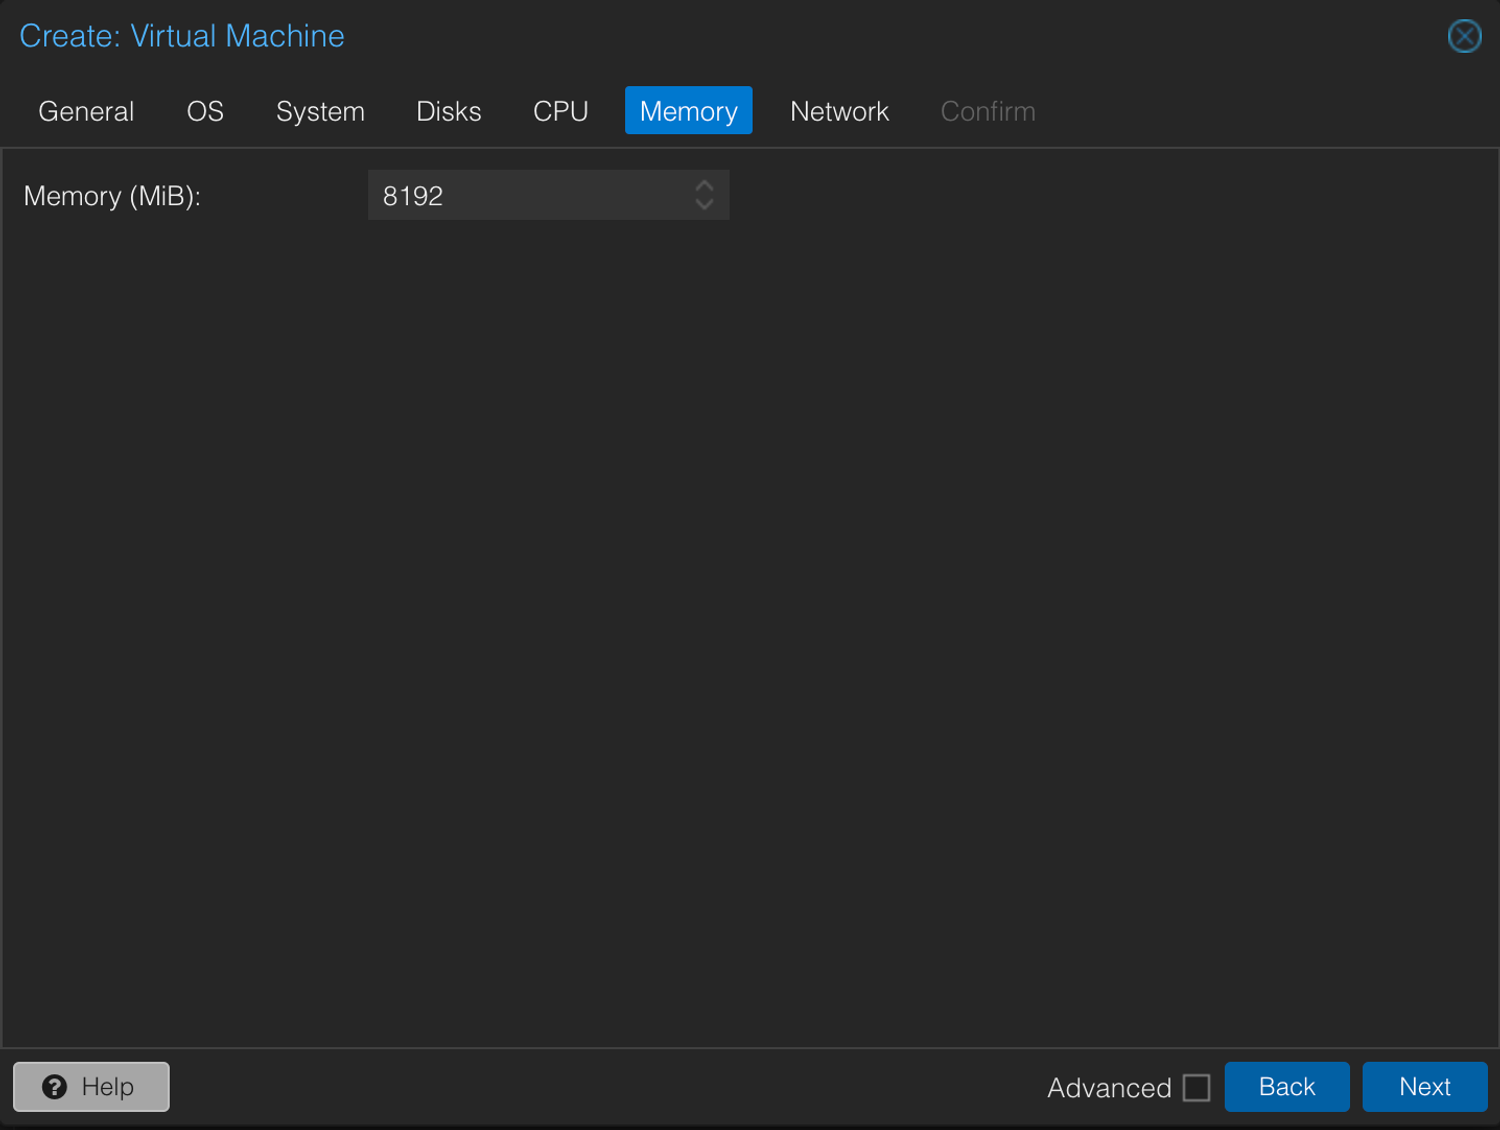
</Item>This shows the vCPU cores set to 4 and RAM set to 8G (8192 MiB)
3. Create the VM
qm create <vmid> --name <vmname> --cores <number_of_cores> --sockets <number_of_sockets> --cpu <cpu_type> --memory <ram> --net0 <network> --scsihw <scsi_hw_type>Parameters:
- <vmid> - your desired VM ID
- <vmname> - your desired VM name
- <number_of_cores> - the number of cores for your vm
- <number_of_sockets> - the number of CPU sockets used
- <cpu_type> - the CPU type
- <ram> - the amount of RAM assigned to the VM
- <network> - your desired networking config
- <scsi_hw_type> - the SCSI Controller type
For example:
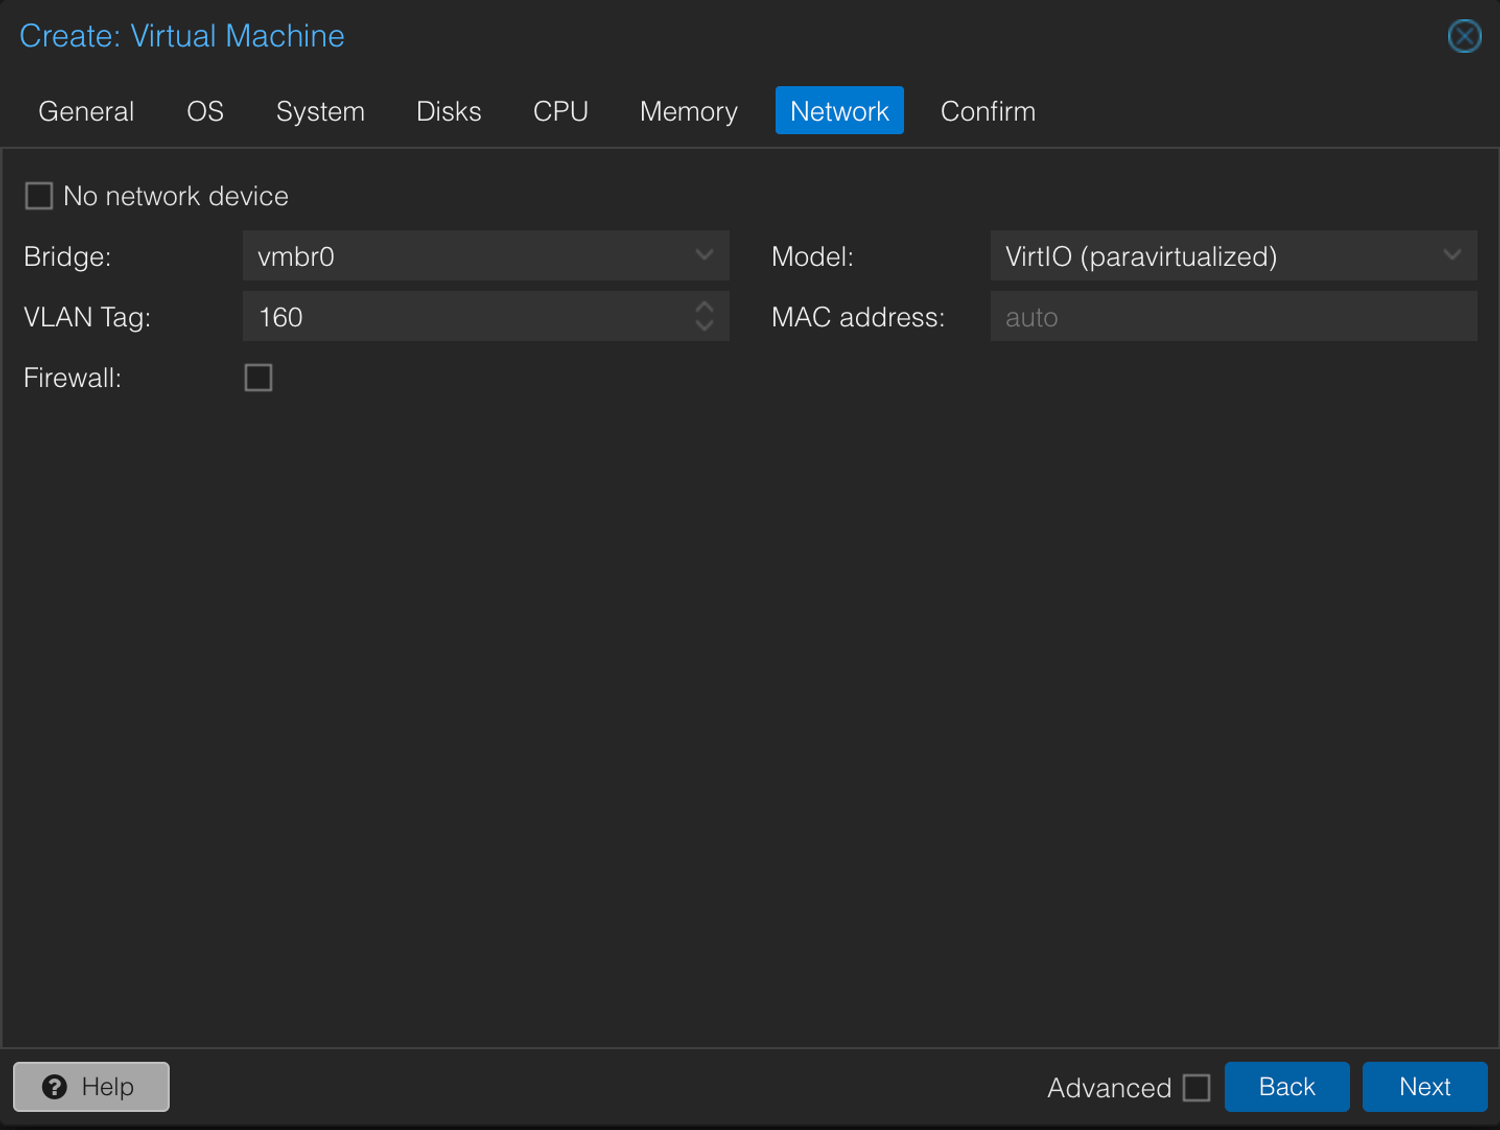
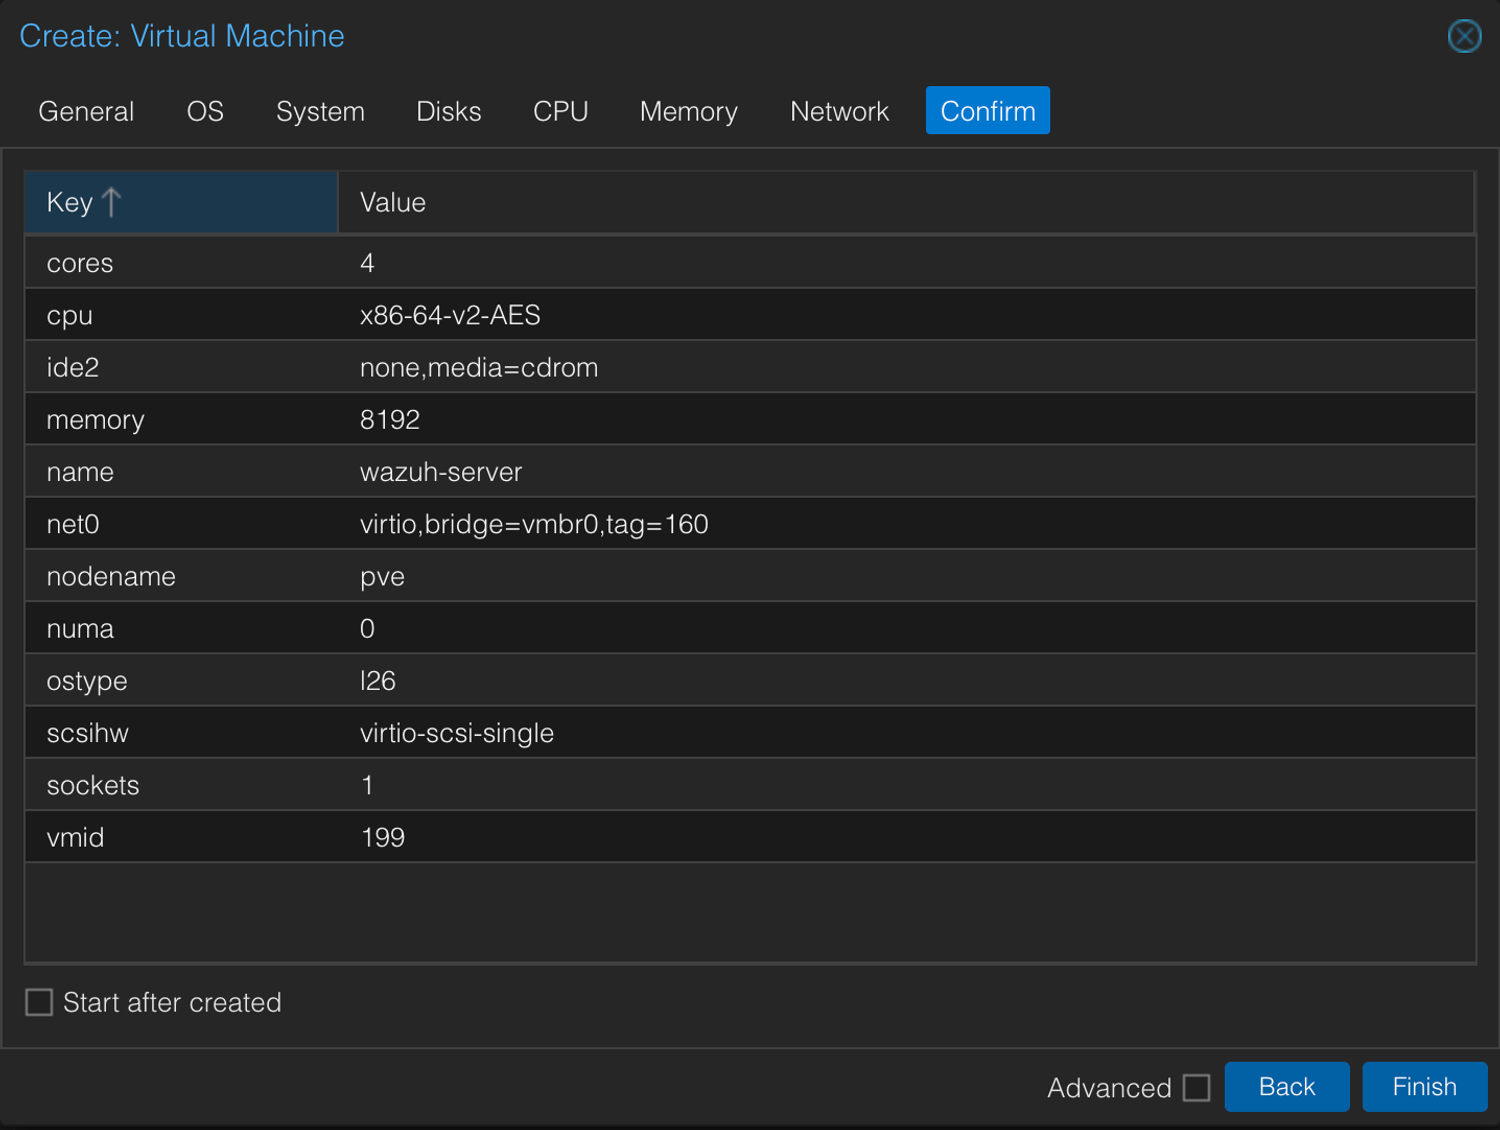
qm create 199 --name wazuh-server --cores 4 --sockets 1 --cpu x86-64-v2-AES --memory 8192 --net0 virtio,bridge=vmbr0,tag=160 --scsihw virtio-scsi-singleThis is basically you telling Proxmox: “Hey, get me a VM with 4 Cores, 8 gigs of RAM, a fancy SCSI controller... Oh, and a network card because I like being connected.”
Tip: For more qm options check out Proxmox docs.
4. Import the .vmdk
qm importdisk 199 wazuh-4.10.0-disk-1.vmdk lvm- Same deal here as Method 1. (Check it if you don't get it.)
Final Steps: Where Both Methods Converge
At this point, you either took the scenic WebGUI route or the command-line autobahn. Either way, you’re about to do a couple of final housekeeping chores:
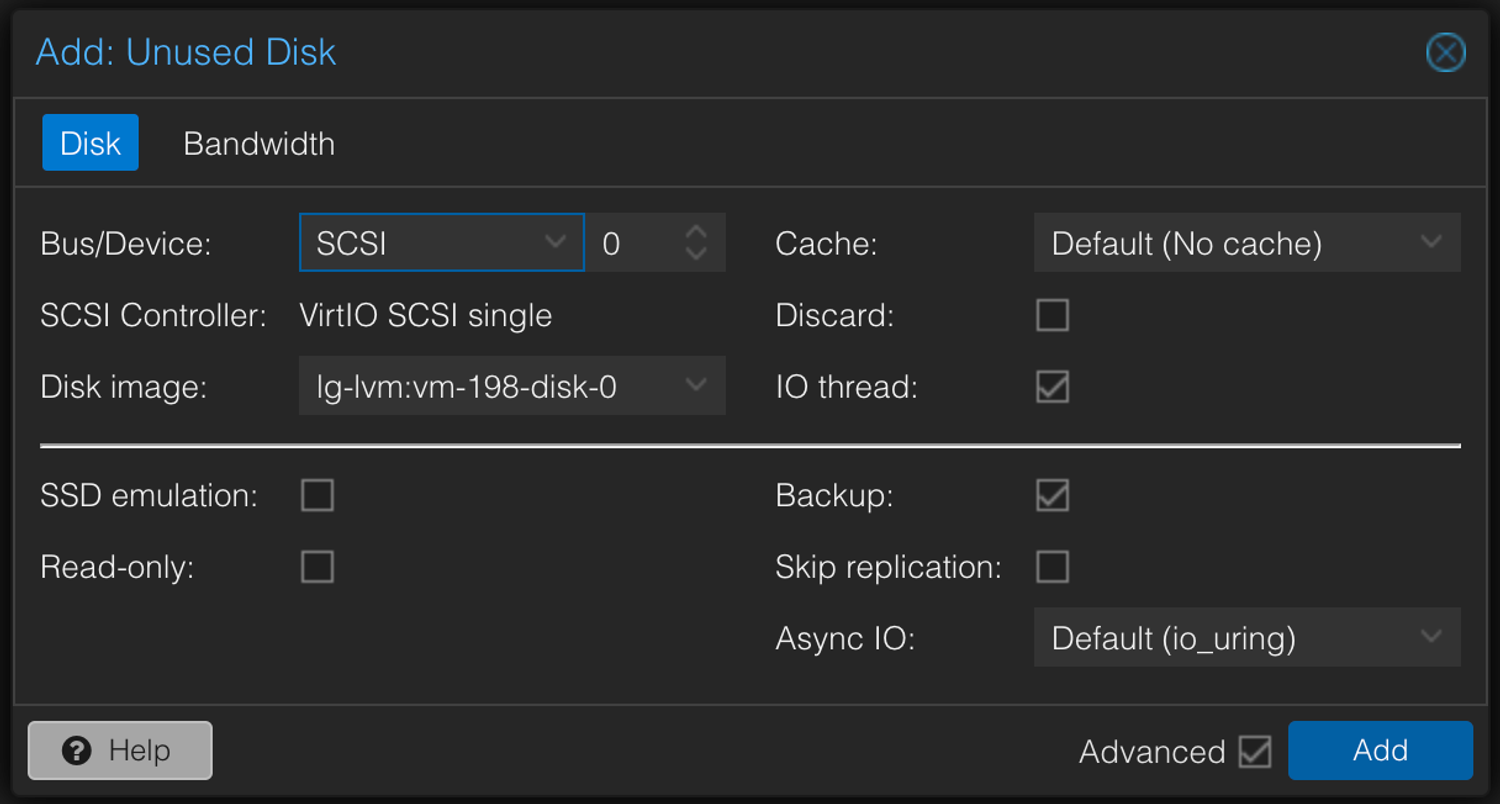
- Enable the Imported Disk & Set Boot Priority
- Under the Options → Hardware tab, find “Unused Disk 0,” then edit it.
- Change BUS/Device to "SCSI" & click Add
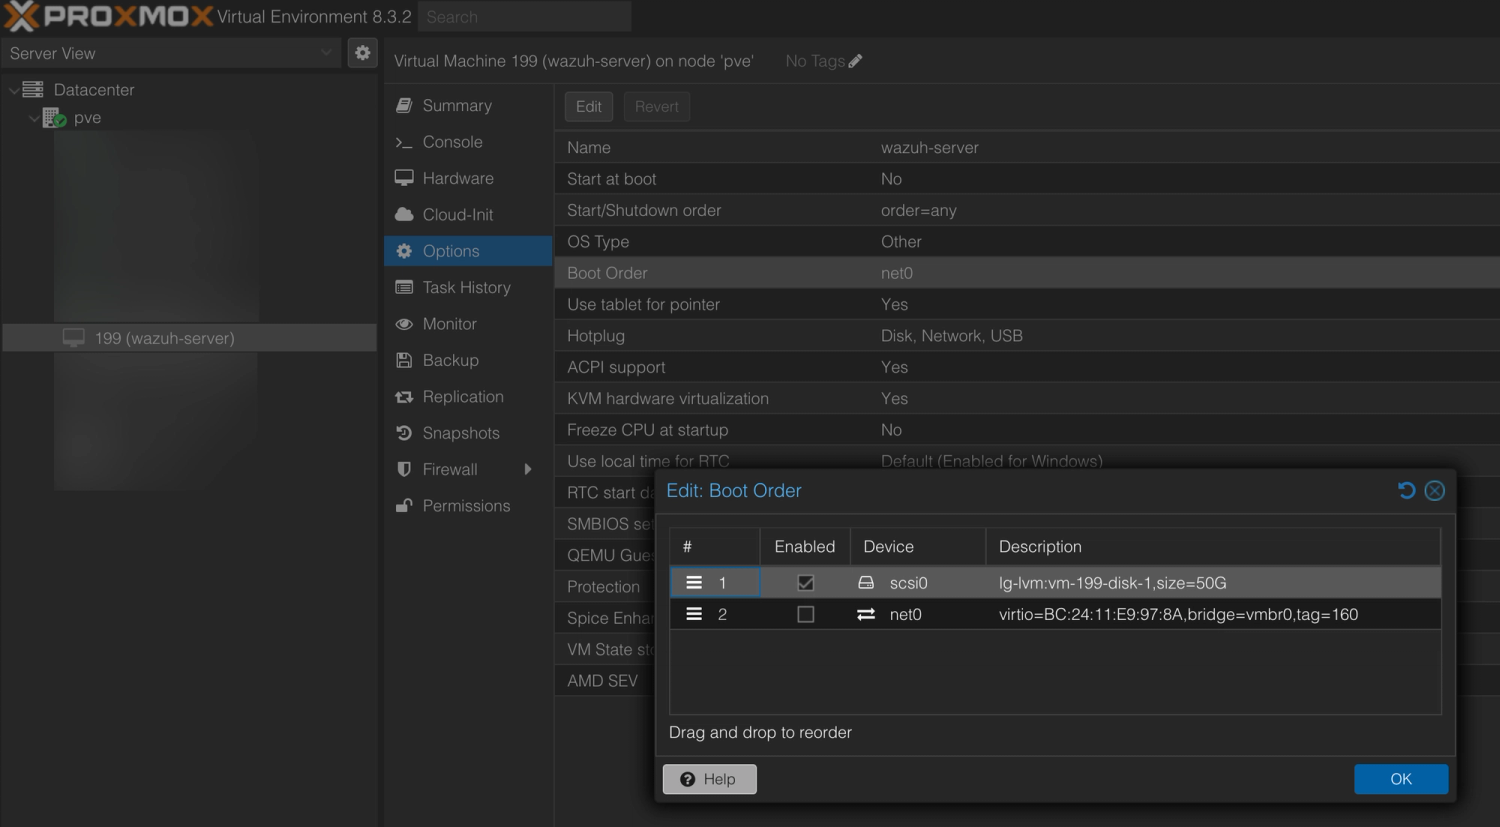
2. Modify the Boot Order
- Go to Options → Boot Order.
- Remove "net0", add your spiffy new scsi0 device
- Optional: enable "Start on Boot" to keep your home network's body guard employed
3. Start the VM
- Head to the Console tab, click Start, and watch the Wazuh logo load up. Congratulate yourself because you’re basically the hero your home network deserves.
Recommendations:
Once you’re up and running, here are some best practices (a.k.a. the “Don’t Skip” bullet list):
- Change the default credentials!
- Update all packages
- Set a static IP address
- For segmented networks: Setup security rules for multi-VLAN communication
- Break it! (in your lab environment, obviously—pull every lever, test every agent, and see what new chaos you can conjure. Then learn from it.)
Troubleshooting:
Murphy’s Law: If something can go wrong, it probably will—here are some pitfalls:
- Error from lock .conf file
If a lock-<vm-id>.conf is messing with your disk import:
rm /var/lock/qemu-server/lock-<vm-id>.confReplace <vm-id> with your actual VM ID
- Server boots but gets stuck on loading the kernel
- This is probably an issue with the SCSI controller type or Hard Disk BUS/Device mismatch. Make sure both are set to SCSI and the SCSI Controller Type is VirtIO SCSI single. Detach, reattach, reconfigure the boot order if needed.
Final Thoughts!
Congratulations—you’ve now given birth to a brand new Wazuh server in Proxmox, giving your network the watchful eye it never knew it needed. You can funnel logs from all your devices, spot vulnerabilities, and basically have your own miniature SOC (Security Operations Center) right at home.
Stay tuned for an upcoming “Beginners Guide to Wazuh” and a “More Advanced Guide” that’ll cover adding agents, setting up custom alerts, automating backups, and even hooking up with tools like Grafana and Home Assistant. Because why stop at security when you can monitor your entire digital kingdom?
RESOURCES:
(This page will be updated with links to future posts whenever they emerge from the creativity oven!)